
Integrating DeepSeek API with Qodly: A Quick Guide
This guide provides a quick start to integrating DeepSeek API with Qodly. We’ll be using the Qodly’s HTTPRequest class to send user queries to DeepSeek and retrieve AI-generated responses effortlessly.
1. Request your API key:
Before getting started, you’ll need to request your API key from DeepSeek’s website to authenticate your requests in your application.
Base URL:
The API url we’ll be using in this demo : https://api.deepseek.com/v1/chat/completions
The /v1/chat/completions endpoint will allow us to send chat-like queries to DeepSeek's API and receive AI-generated responses, enabling interactive, dynamic conversations within our application.
2. Integrate DeepSeek with Qodly:
We’ll demonstrate how to connect to DeepSeek using Qodly’s HTTPRequest class within a singleton pattern, ensuring efficient API usage.
shared singleton constructor()
    this.apiKey = "your_api_key"
    this.apiUrl="https://api.deepseek.com/v1/chat/completions"
exposed function chatbot(prompt : string):string
    var jsonBody,content : string
    var data : object = newObject()
    var request : 4D.HTTPRequest
    var requestOptions,jsonResponse:object
    data.model = "deepseek-chat"
    data.messages = [(newObject("role", "user", "content",prompt))]
    data.temperature = 0.1
    data.max_tokens = 500
    jsonBody = jsonStringify(data)
    requestOptions = {}
    requestOptions.method = "POST"
    requestOptions.headers = newObject("Authorization", "Bearer "+this.apiKey, "Content-Type", "application/json")
    requestOptions.body = jsonBody
    requestOptions.dataType = "text"
    request = 4D.HTTPRequest.new(this.apiUrl, requestOptions)
    request.wait()
    if ((request.response.status == 200) && (valueType(request.response.body) == kString))
        try
            jsonResponse = jsonParse(request.response.body)
            content = jsonResponse.choices[0].message.content
        catch
            content = "Error : Parsing went wrong."
        end
    else
        content = "Error : HTTP status:  "+string(request.response.status)
    end
return content- API Initialization: The singleton constructor sets up the API key and URL. The singleton pattern ensures that only one instance of the connection is used throughout the application.
Sending Requests: The chatbot function sends a user prompt to DeepSeek’s API via a POST request, with necessary headers (Authorization, Content-Type).
data.model = "deepseek-chat"
    data.messages = [(newObject("role", "user", "content",prompt))]
    data.temperature = 0.1
    data.max_tokens = 500
Here’s a breakdown of those lines:
data.model = "deepseek-chat": Specifies the AI model to use for generating responses.
data.messages = [(newObject("role", "user", "content", prompt))]: Defines the messages for the chat, with the user's input (prompt) being passed in as the message content. The "role" is set to "user" to indicate the sender.
data.temperature = 0.1: Controls the randomness of the response. The lower the value, the more deterministic and focused the response becomes.
data.max_tokens = 500: Sets the limit of the response ‘length.
   jsonBody = jsonStringify(data)
    requestOptions = {}
    requestOptions.method = "POST"
    requestOptions.headers = newObject("Authorization", "Bearer "+this.apiKey, "Content-Type", "application/json")
    requestOptions.body = jsonBody
    requestOptions.dataType = "text"
    request = 4D.HTTPRequest.new(this.apiUrl, requestOptions)
    request.wait()
The code snippet performs one main action:
Setting up and sending the request, where data is stringified, HTTP request options are configured (method, headers, body, and response type), and the request is sent via 4D.HTTPRequest.new(), followed by waiting for the response.
It then handles the response by parsing it and extracting the chatbot's reply, with error handling for any HTTP or parsing failures.
    if ((request.response.status == 200) && (valueType(request.response.body) == kString))
        try
            jsonResponse = jsonParse(request.response.body)
            content = jsonResponse.choices[0].message.content
        catch
            content = "Error : Parsing went wrong."
        end
    else
        content = "Error : HTTP status:  "+string(request.response.status)
    end
    return content
This approach efficiently manages API connections and allows easy integration with DeepSeek’s AI-driven chat responses.
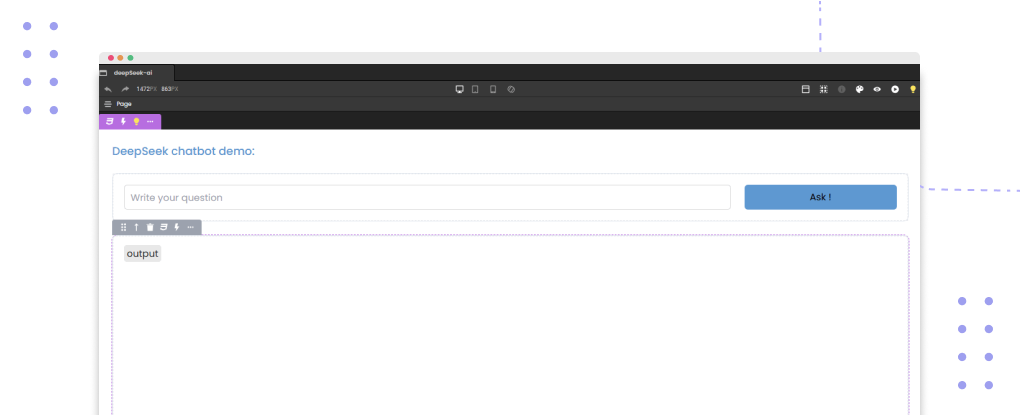
3. Building the Interface
For the interface, you can create a simple layout with:
- A Text Input that captures the user's question, which is then sent to the DeepSeek API.
- A Button that triggers the function from the singleton class. When clicked, it initiates the API call, sending the user input to the DeepSeek service and retrieving the response.
A simple Text to show the API response.
This ensures easy interaction with DeepSeek, allowing users to input questions and view results.
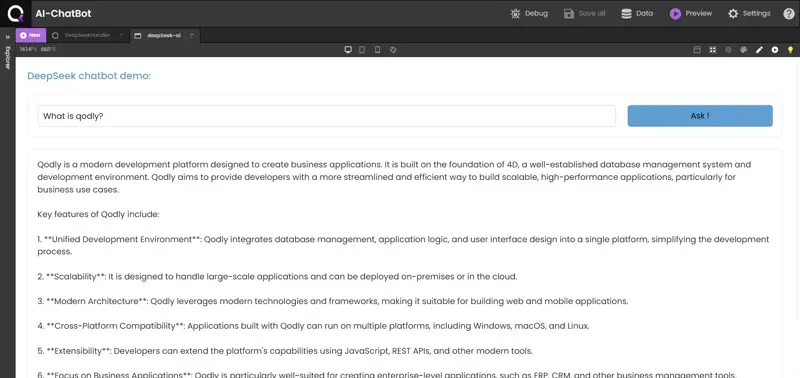
4. Demo
5. Conclusion
By integrating DeepSeek’s AI capabilities with Qodly, you can easily enhance your application’s data analysis features. The HTTPRequest class and singleton pattern streamline the process, making it easier to build scalable, data-driven solutions.
Hybrid Low-code Platform For Your Business Apps
Have freedom of customization while avoiding the constraints of No-Code limitations. Try Qodly for Free!
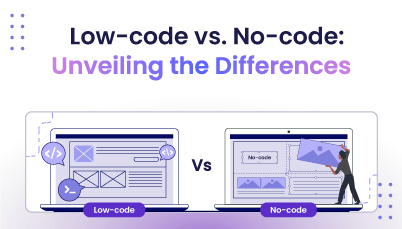
Low-code vs. No-code: Unveiling the Key Differences
In software development's changing landscape, two words have become increasingly important in recent...
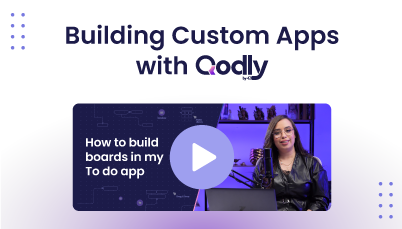
Build Your Trello Clone in Minutes! (Video Tutorial Included)
Throughout my career, I've tried various project management apps, but I often found them lacking in ...
Build Beautiful Front-End Pages in Minutes with Qodly
In web development, having a unified tool that bridges the gap between designers, clients, and devel...
Formula vs. Development Platforms: Choosing the Right Tool for Your Needs
Choosing the right platform to build your software can be overwhelming. Two popular options are form...
When Low-Code/No-Code Development Works (and When It Doesn't)
For years, businesses have been stuck between two extremes when needing new software: custom develop...
Exploring Qodly Custom Components
Qodly introduces the concept of Custom Components, empowering developers to extend the platform's ca...
Announcing the Qodly HackDev24 – Code for Gold!
Calling all developers, sports fans, and creative minds! Are you passionate about the sport and exci...
Is Qodly Suitable for Citizen Developers?
In today's fast-paced business world, the demand for custom applications is higher than ever before....
Let's celebrate together Qodly's first Hackathon: DevHack24!
Who was the hackathon aimed at, and what was the theme?The very first Qodly Hackathon on the sports ...
Key Features to Look for in a Low-Code Platform
As businesses strive to keep up with rapidly evolving technology demands, low-code platforms have em...

How Low-Code Platforms are Empowering Small and Medium-Sized Businesses
Nowadays, businesses of all sizes rely heavily on mobile apps to facilitate client communication, op...
The Future of the Web Development Market — Industry Insights
The web development market was worth USD 56 billion in 2021 and is projected to grow at a CAGR (Comp...